[Mac/Linux] 使用 mitmproxy 監看 HTTPS 的連線內容
最近想要看一下專案程式打出去的 HTTPS 連線,內容有沒有正確,
想起了之前瞄過的 mitmproxy,決定這次就來試試看了。
試了一下發現還蠻好用的~
1. 安裝 mitmproxy
在 Mac 上可以用 Homebrew 安裝:
brew install mitmproxy
在 Ubuntu Linux 上可以用 apt 安裝:
sudo apt install mitmproxy
裝好之後,應該會有三個程式可以用,分別是:
- mitmproxy
- mitmweb
- mitmdump
以介面來說,當然是 mitmweb 會最容易操作,
不過像我是透過 SSH 連線來操作的話,用 mitmproxy 是比較合適的選擇~
2. 使用 mitmproxy 觀察 HTTPS 連線
首先在終端機裡執行 mitmproxy ,這就會將 mitmproxy 跑起來,
並預設監聽在 8080 port。
假設這時我想要用 curl 連線到 https://www.google.com,
可以加上 -x http://127.0.0.1:8080 的參數,讓連線透過這個 proxy 出去。
不過此時通常會失敗,因為 mitmproxy 的 CA 並不被 curl 或系統信任:
$ curl -L -v -x http://127.0.0.1:8080 https://www.google.com

*   Trying 127.0.0.1...
* TCP_NODELAY set
* Connected to 127.0.0.1 (127.0.0.1) port 8080 (#0)
* allocate connect buffer!
* Establish HTTP proxy tunnel to www.google.com:443
> CONNECT www.google.com:443 HTTP/1.1
> Host: www.google.com:443
> User-Agent: curl/7.64.1
> Proxy-Connection: Keep-Alive
>
< HTTP/1.1 200 Connection established
<
* Proxy replied 200 to CONNECT request
* CONNECT phase completed!
* ALPN, offering h2
* ALPN, offering http/1.1
* successfully set certificate verify locations:
*   CAfile: /etc/ssl/cert.pem
  CApath: none
* TLSv1.2 (OUT), TLS handshake, Client hello (1):
* CONNECT phase completed!
* CONNECT phase completed!
* TLSv1.2 (IN), TLS handshake, Server hello (2):
* TLSv1.2 (IN), TLS handshake, Certificate (11):
* TLSv1.2 (OUT), TLS alert, unknown CA (560):
* SSL certificate problem: unable to get local issuer certificate
* Closing connection 0
curl: (60) SSL certificate problem: unable to get local issuer certificate
More details here: https://curl.haxx.se/docs/sslcerts.html
在 curl 裡可以再加上 -k 參數來忽略所有的 HTTPS 驗證錯誤,
這時 HTTPS 連線就可以成功透過 mitmproxy 連出去了:
$ curl -k -L -v -x http://127.0.0.1:8080 https://www.google.com

*   Trying 127.0.0.1...
* TCP_NODELAY set
* Connected to 127.0.0.1 (127.0.0.1) port 8080 (#0)
* allocate connect buffer!
* Establish HTTP proxy tunnel to www.google.com:443
> CONNECT www.google.com:443 HTTP/1.1
> Host: www.google.com:443
> User-Agent: curl/7.64.1
> Proxy-Connection: Keep-Alive
>
< HTTP/1.1 200 Connection established
<
* Proxy replied 200 to CONNECT request
* CONNECT phase completed!
* ALPN, offering h2
* ALPN, offering http/1.1
* successfully set certificate verify locations:
*   CAfile: /etc/ssl/cert.pem
  CApath: none
* TLSv1.2 (OUT), TLS handshake, Client hello (1):
* CONNECT phase completed!
* CONNECT phase completed!
* TLSv1.2 (IN), TLS handshake, Server hello (2):
* TLSv1.2 (IN), TLS handshake, Certificate (11):
* TLSv1.2 (IN), TLS handshake, Server key exchange (12):
* TLSv1.2 (IN), TLS handshake, Server finished (14):
* TLSv1.2 (OUT), TLS handshake, Client key exchange (16):
* TLSv1.2 (OUT), TLS change cipher, Change cipher spec (1):
* TLSv1.2 (OUT), TLS handshake, Finished (20):
* TLSv1.2 (IN), TLS change cipher, Change cipher spec (1):
* TLSv1.2 (IN), TLS handshake, Finished (20):
* SSL connection using TLSv1.2 / ECDHE-RSA-AES128-GCM-SHA256
* ALPN, server accepted to use h2
* Server certificate:
*  subject: CN=www.google.com
*  start date: Dec 17 20:54:42 2021 GMT
*  expire date: Dec 19 20:54:42 2022 GMT
*  issuer: CN=mitmproxy; O=mitmproxy
*  SSL certificate verify result: unable to get local issuer certificate (20), continuing anyway.
* Using HTTP2, server supports multi-use
* Connection state changed (HTTP/2 confirmed)
* Copying HTTP/2 data in stream buffer to connection buffer after upgrade: len=0
* Using Stream ID: 1 (easy handle 0x7fcc4280c600)
> GET / HTTP/2
> Host: www.google.com
> User-Agent: curl/7.64.1
> Accept: */*
>
* Connection state changed (MAX_CONCURRENT_STREAMS == 100)!
< HTTP/2 200
< date: Sun, 19 Dec 2021 12:55:28 GMT
......
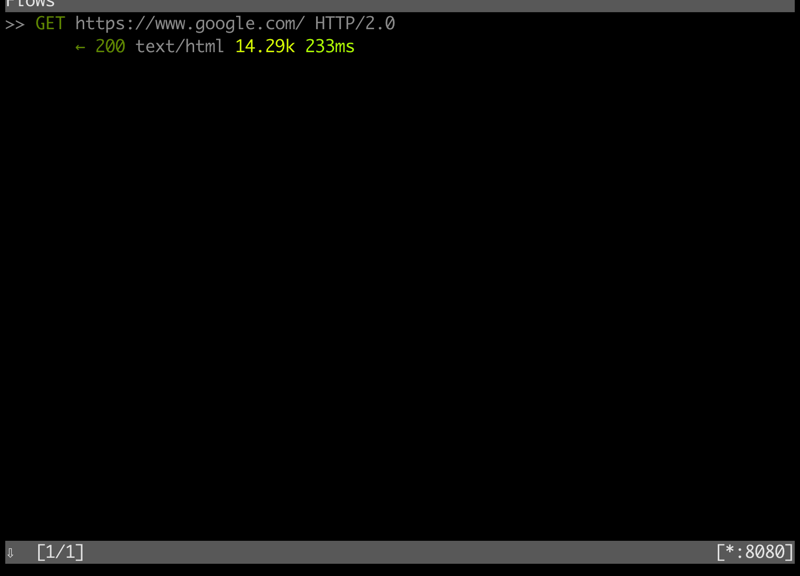
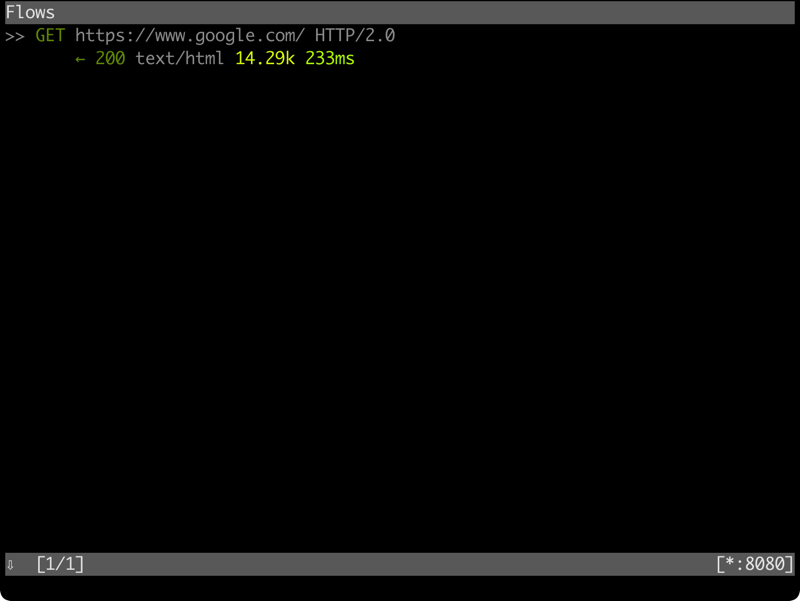
這時在執行 mitmproxy 命令的終端機上,可以看到這個 GET 連線:
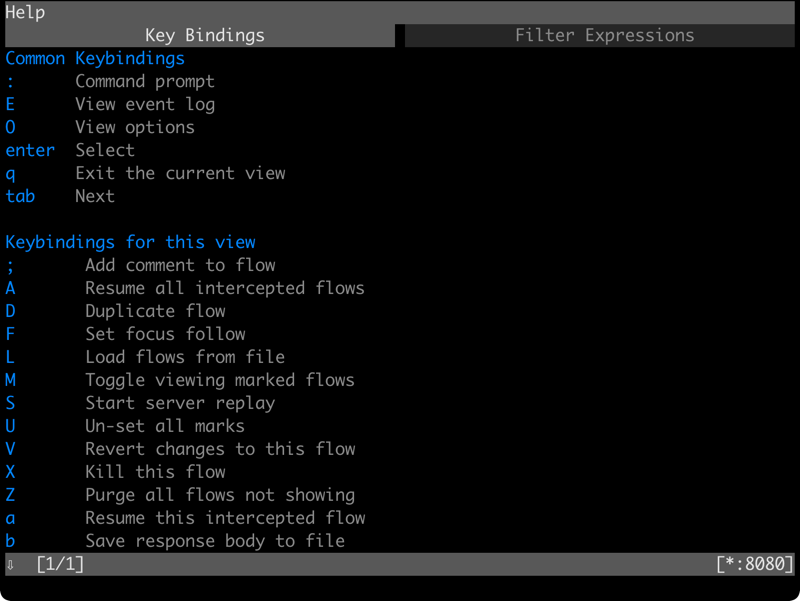
按下 ? 可以顯示快捷鍵,不過我平常用的就只有 <Enter> 顯示資料、
和 <q> 退出目前顯示資料、以及用上下方向鍵來選擇連線:
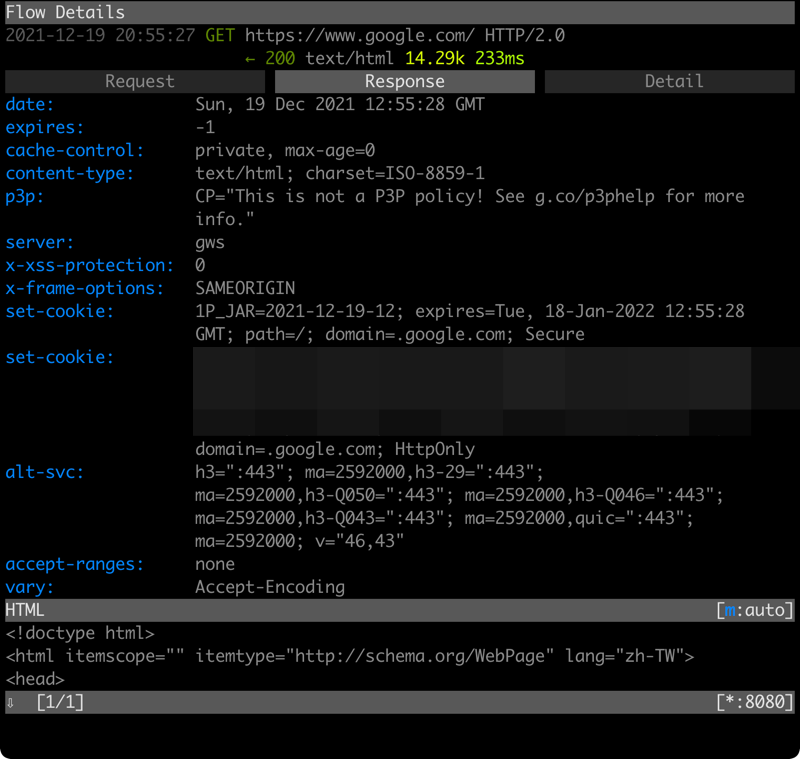
在最外面的連線列表,對某個連線按下 <Enter> 鍵後,
就會出現如下畫面,可以看到請求 (Request)、回應 (Response)、以及細節的部分:
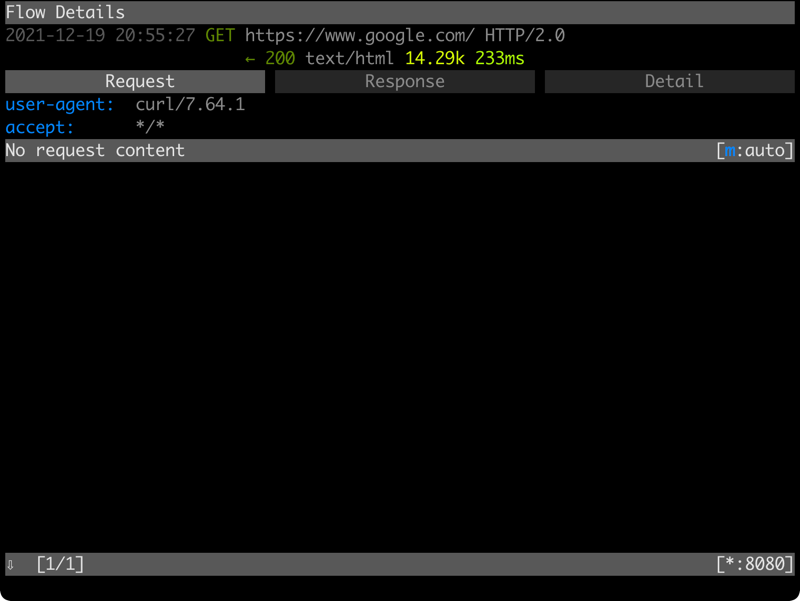
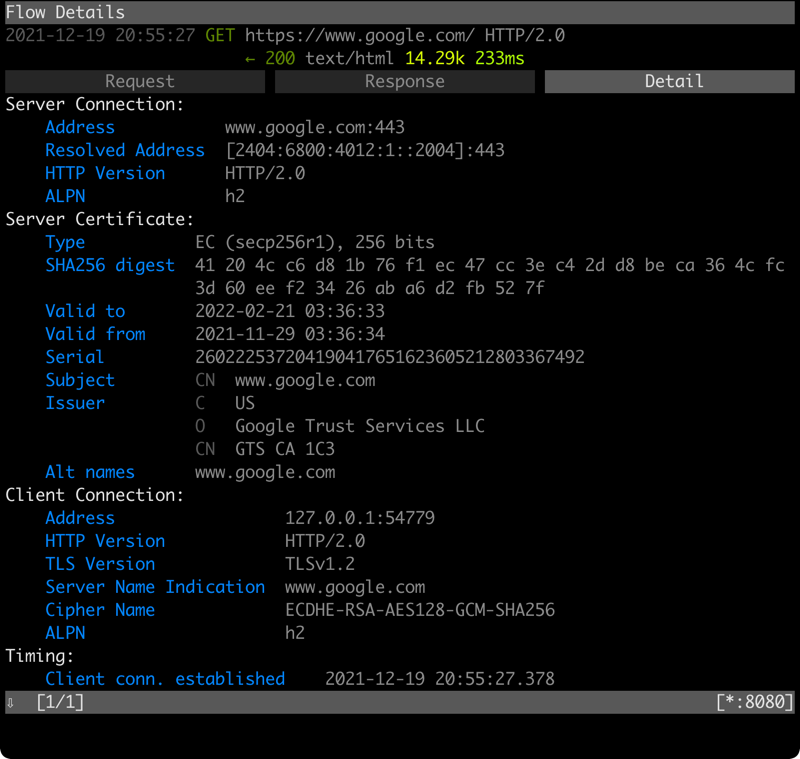
在細節的部分,可以看到伺服器傳回來的簽章 (certificate) 資訊:
如果是自己寫的 Go 程式的話,在 mitmproxy 的 CA 不被信任時,
使用 http.client 通過 mitmproxy 的連線都會失敗。
這時可以在 tls.Config 裡設定 InsecureSkipVerify ,
來略過簽章的驗證錯誤,這樣連線通過 mitmproxy 時才會成功:
config := &tls.Config{
    InsecureSkipVerify: true
}
使用 mitmproxy 的話,就可以清楚看到 HTTPS 連線裡的內容,
真的是很方便的好工具喔~